How to create a UKVI account and access your UK e-Visa in 9 steps

How to create a UKVI account and access your UK e-Visa in 9 steps

December 30th, 2024

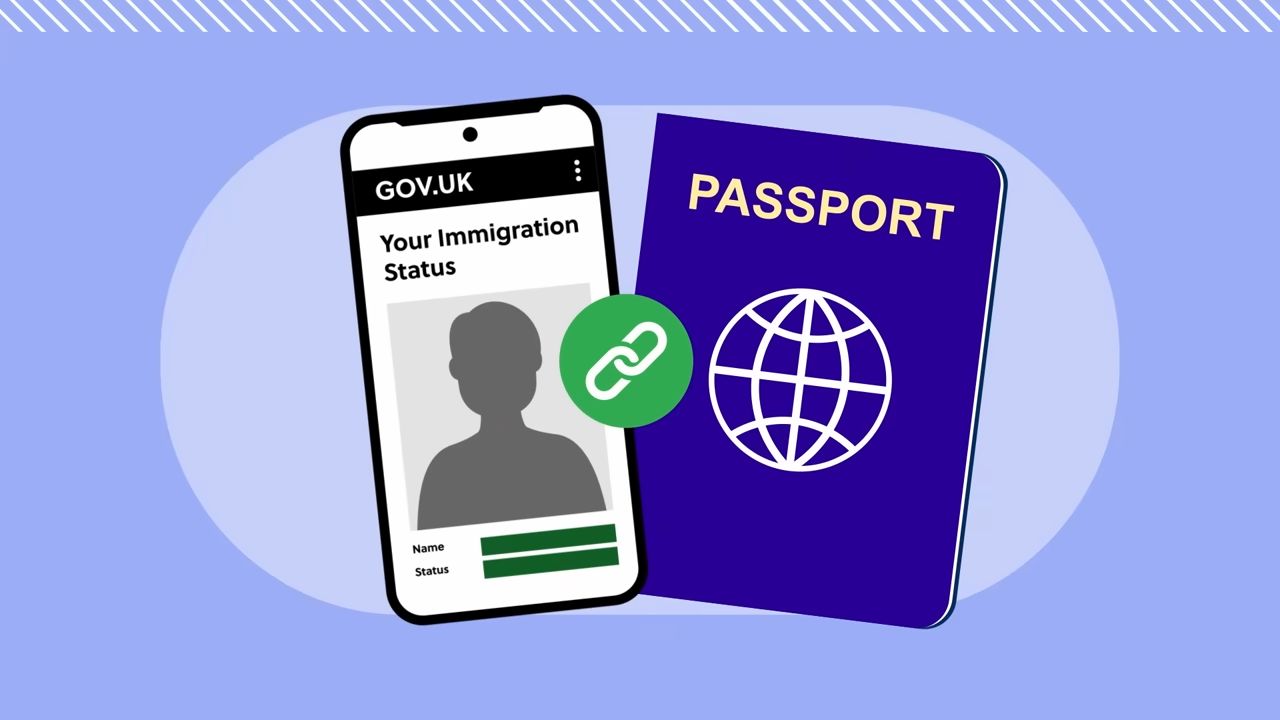
Creating a UKVI account is the first step to accessing your UK e-Visa and managing your immigration details. In this AnyVisa UK visa guide, we’ll walk you through the entire process step by step—from setting up your account to verifying your identity and accessing your digital visa.

What is UK e-Visa and why do you need to create a UKVI account for it

The UK eVisa is a digital immigration record that replaces traditional physical documents like biometric residence permits (BRPs), biometric residence cards (BRCs), and visa endorsements. Introduced as part of the UK Visas and Immigration (UKVI) digital immigration system, the eVisa securely stores your immigration status online, making it accessible, secure, and convenient. This innovative approach eliminates the risks of losing, tampering, or damaging physical documents.

With a UK eVisa, individuals can prove their right to work, rent, or stay in the UK by generating share codes for verification.

Travelers can link their eVisa to their passport, ensuring hassle-free entry and exit from the UK.

AnyVisa can help you through the entire process

The experts at AnyVisa guide you through every step of the process, ensuring your application is submitted accurately and on time.

Create a UKVI account to access your UK eVisa (Online immigration status)

Creating a UKVI account is important for anyone applying for a UK e-Visa. This account is used to manage your visa information and access everything related to your immigration status in the UK. It’s where you can view and download your e-Visa, which is digital and linked to your passport.

The account is necessary because the UK no longer issues physical visa stickers. Instead, your visa details are stored online, and the UKVI account helps you share and verify them with others, like employers, landlords, or border officials. This ensures they can confirm your right to work, study, or live in the UK.

any-visa-content

Credit: Home Office/YouTube

You also need a UKVI account to update your information if things change, like getting a new passport or moving to a new address. Without this, your visa information could become outdated, which might cause problems during your stay.

The account is also useful during the visa application process. You can use it to upload documents, check the status of your application, and get messages from UK Visas and Immigration (UKVI). Later, if you need to renew or change your visa, the UKVI account will make it much easier.

Overall, a UKVI account is essential for keeping your visa and immigration details safe, organized, and easily accessible in the UK’s digital visa system.

How to create a UKVI account for UK e-Visa

Creating a UKVI account to access your UK e-Visa involves a multi-step process.

Here is a comprehensive guide outlining each step:

Step 1: Prepare the necessary documents

You will need one of the following:

  • Your passport and UKVI application reference number (usually starts with “GWF” and can be found on your visa application form or documents).
  • Biometric Residence Permit (BRP) (if you have one).

If you have a different immigration document (e.g., an indefinite leave to remain stamp or vignette), contact UKVI for guidance.

Step 2: Access the UKVI Portal

  • Visit the UKVI account creation page: UKVI Account Creation.
  • Click “Start Now” to begin the account creation process.

Step 3: Enter your personal details

  • Fill in your personal details, such as:
    • Full name.
    • Date of birth.
    • Contact information (email and phone number).
    • Use a personal email address (not a work or university email) to avoid losing access in the future.
  • Answer questions based on your circumstances, such as:
    • Whether you have a BRP.
    • If you’re waiting for your first BRP (if applicable).

Step 4: Verify your identity

Choose which document to use for identity verification:

  • Passport: If you use your passport, you will also need your GWF visa application number.
any-visa-content

Credit: Home Office/YouTube

  • BRP: If you choose BRP, you will need to update your passport details later.

Follow these steps:

  • Select the document and enter its details.
  • Review all information carefully before proceeding.
  • Click “Create an Account”.

Step 5: Confirm your UKVI account creation

Once your account is created, UKVI will send you a confirmation email with a link to log in.

Keep this email in a safe location for future reference.

Step 6: How to link eVisa to UKVI account using the UK Immigration: ID Check App

Here is how to link your United Kingdom eVisa to your account:

  • Sign in to your UKVI account.
  • Select the “Confirm Your Identity” section.
  • Download the UK Immigration: ID Check App from your smartphone’s app store.
    • Ensure the app name is correct and the author is "UK Visa and Immigration."

Using the App:

  • Link the app to your UKVI account using a:
    • QR Code (The QR code can be found on the web page for your application when you select 'Confirm your identity.' It is not included in your identity document. If you are completing your application on a smartphone, you will not need to scan a QR code. or,
    • Connection Code.
  • Follow the app instructions to:
    • Scan your BRP or passport.
    • Take a biometric scan of your face.
    • Capture a selfie photo.
  • Submit your details via the app.
any-visa-content

Credit: Home Office/App Store

After confirming your identity, return to your UKVI account and:

  • Fill in the remaining sections:
    • Contact Preferences: Verify your email and phone number.
    • Account Security Questions: Choose and answer questions to secure your account.
  • Read and sign the digital declaration page.
  • Submit your application.

Step 8: Wait for your United Kingdom eVisa to be ready

After submission, UKVI will process your application. You will receive an email once your eVisa is ready to view.

any-visa-content

Credit: Home Office/YouTube

This can take a few days; check your spam and junk folders for updates.

Step 9: Check UK eVisa details

To check UK eVisa details, follow these steps:

  • Log in to your UKVI account to view your eVisa.
  • Verify the details:
    • Name.
    • Date of birth.
    • Visa type and expiry.
    • Conditions of stay.

If you renew your passport or update any personal details, update your UKVI account immediately using the Update UKVI Account Details link.

any-visa-content

Credit: Home Office/YouTube

Ensure your passport is linked to your eVisa, especially if you used a BRP to create the account.

How to access your eVisa after creating a UKVI account

Once you have created your UKVI account, here are the steps to get access to your eVisa:

  • Go to the UKVI portal: UKVI Account Login.
  • Enter your email address and password that you created during registration.
  • If you haven't already done so during registration, you will need to verify your identity. This may involve using the ID Check App (available on Android and iOS). Open the app and follow the instructions to scan your passport or BRP.
  • After logging in and completing the identity verification (if necessary), you can access your eVisa from the dashboard of your UKVI account.
  • Your eVisa will be visible in the 'View your visa' section.
any-visa-content

Credit: Home Office/YouTube

How to apply for UK eVisa

To apply for a UK eVisa, you must visit the official UK Visas and Immigration (UKVI) website and complete the online application form. You'll be asked to provide personal details, travel information, and the purpose of your visit to the UK. Additionally, you will need to upload required documents, such as proof of identity and travel plans, and pay the UK visa application fee. After submission, you can track the status of your application while awaiting approval.

The application process can be complex, especially if you're unfamiliar with UK visa requirements.

This is where Anyvisa comes in

Anyvisa offers expert assistance at every step of the process.

Featured image credit: Home Office/YouTube